Front End Testing with GitHub Actions
Front End Testing with GitHub Actions
Why test?
First off, I’m not going to delve into why we need to be testing or why we need to test the front end of our applications
If you’re here or watching this at home, I’m going to assume that you know we need to test
If you don’t know why, or aren’t convinced yet, I’ve got another talk for you
kapers.dev/fender-testing
In 2020 I gave a talk about the whys and hows of front end Testing
I did give it in London, but this will take you to the Sydney version which is a bit more updated
TLDR - You need a live website
When testing the front end though, we need a live website
Unlike running other tests, like unit tests where you can give it dummy data and confirm that the output is the same
For front end tests, you need to be able to have a functioning front end to test against
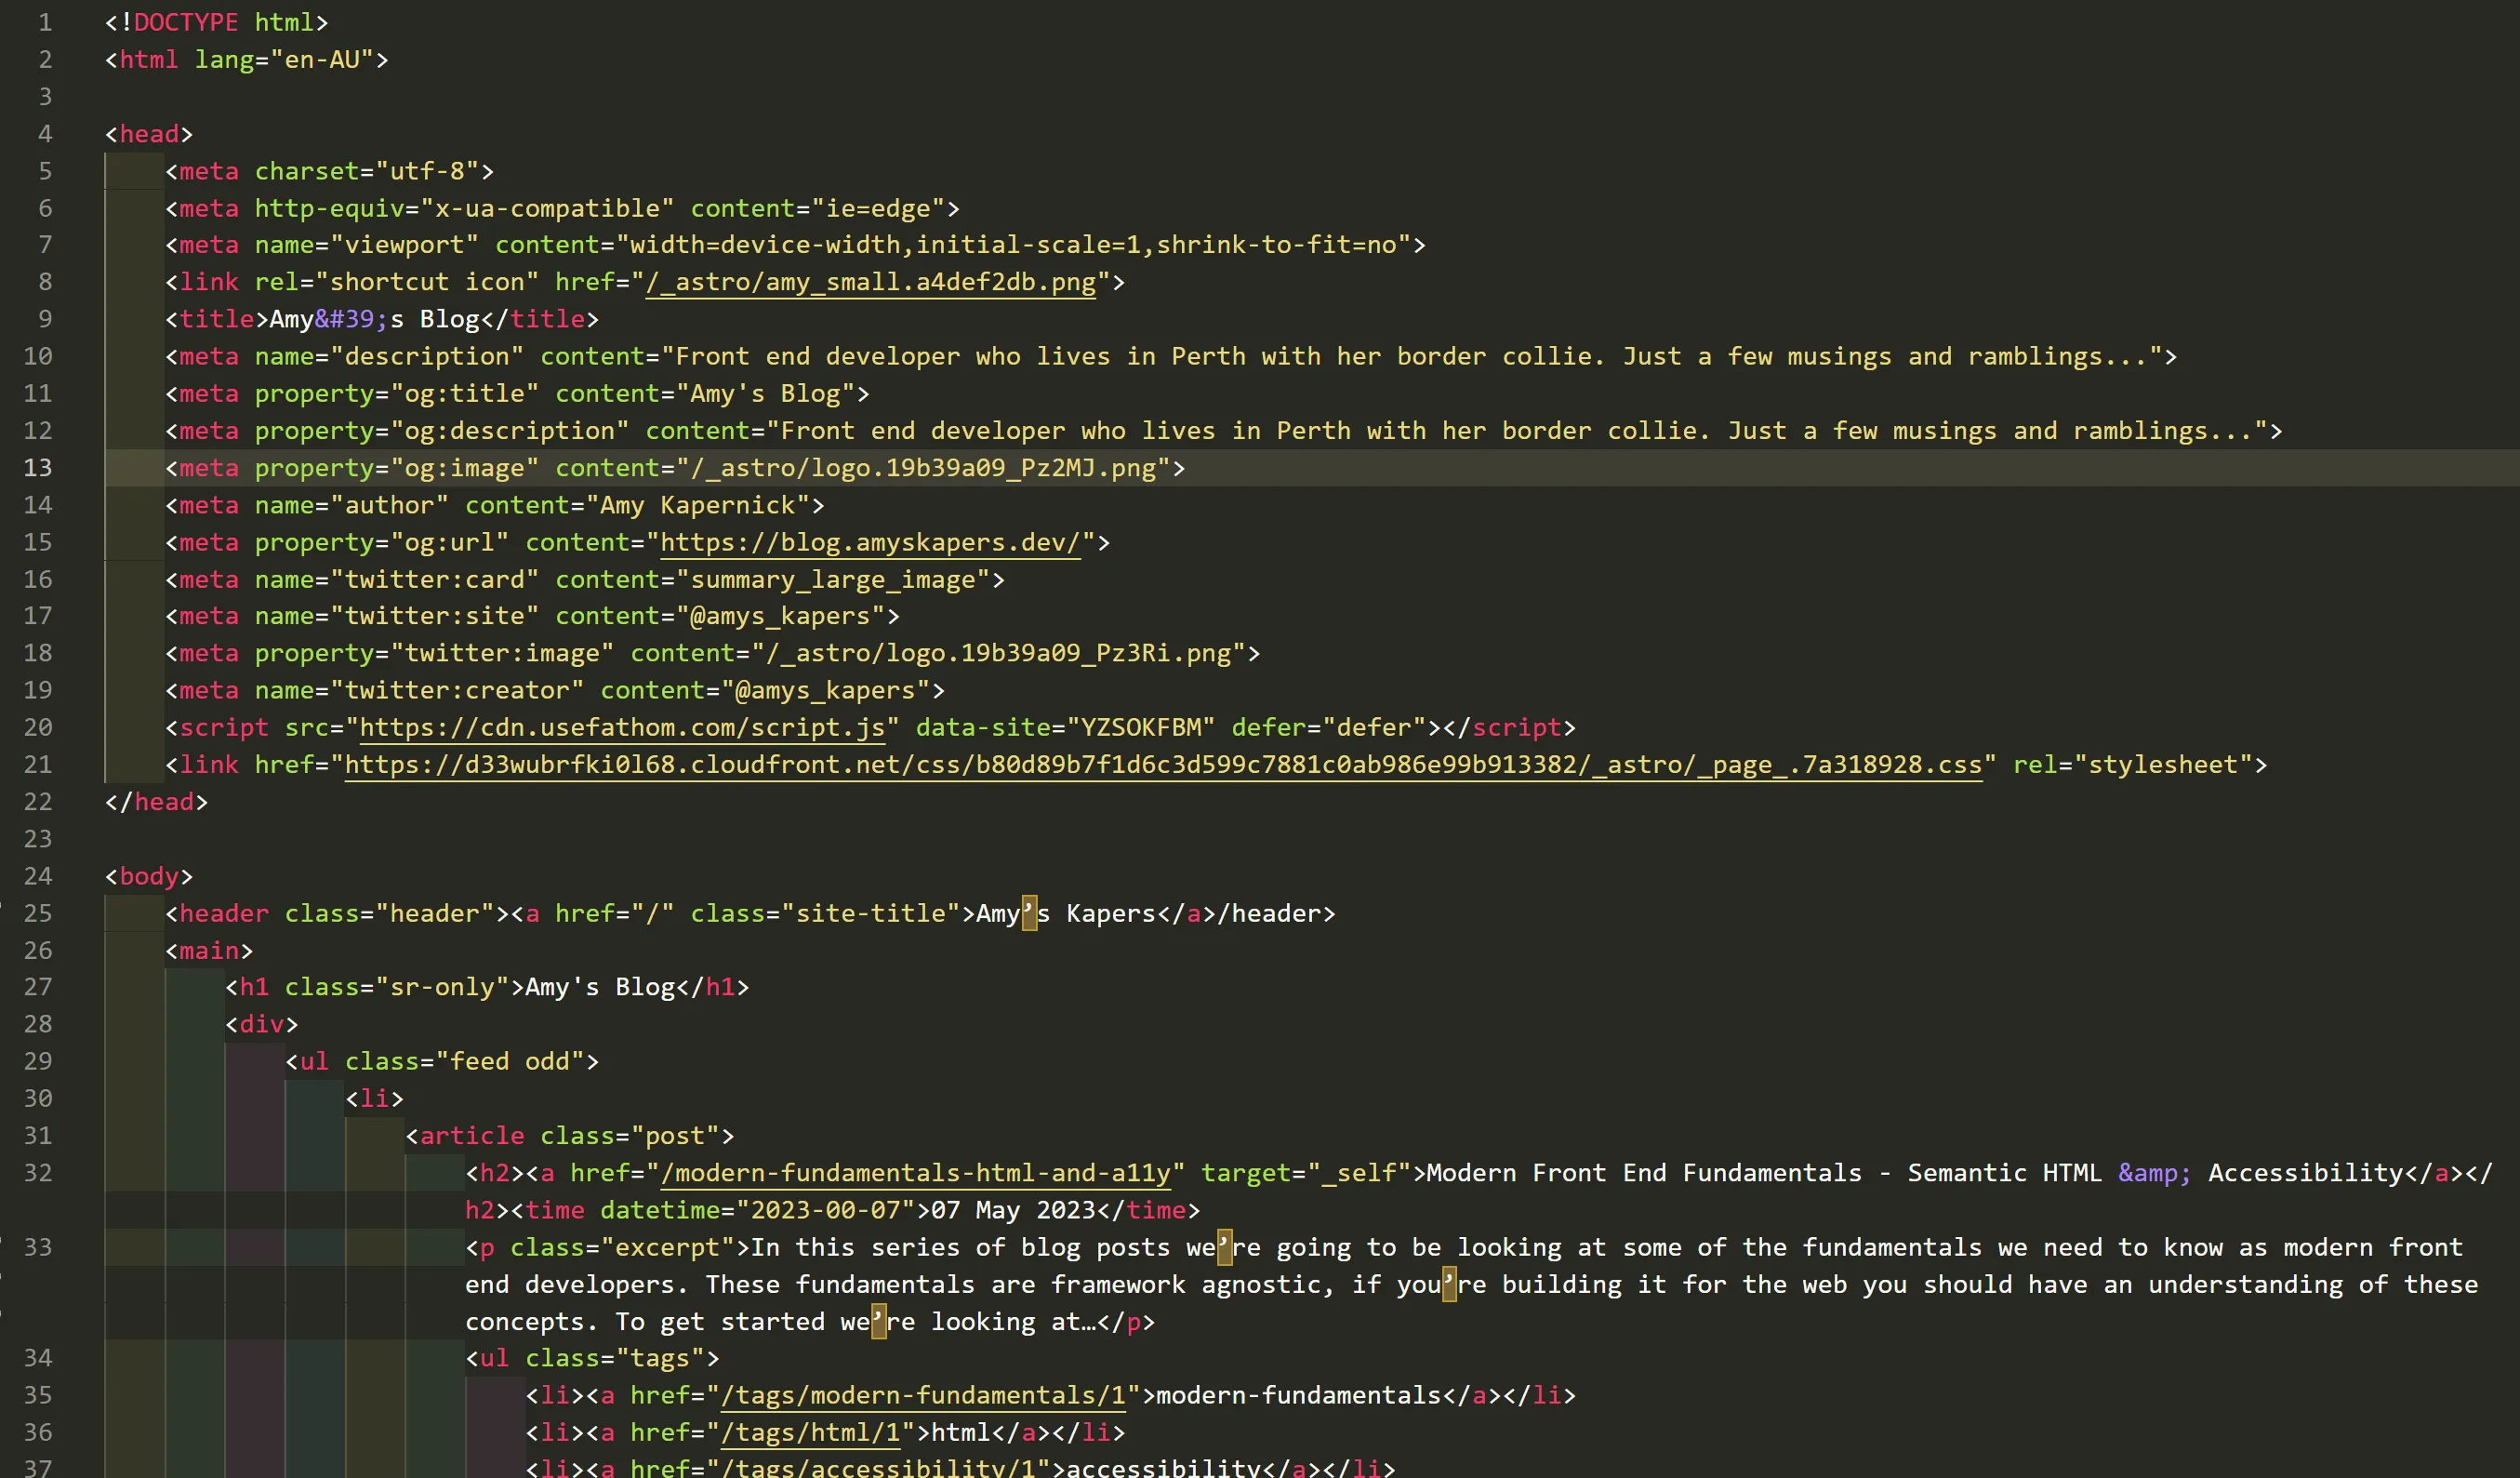
For example, from this code snippet, can you tell me if the interface is accessible to someone with a vision impairment?
Can you work out how fast the page will load or if any of the resources will block the page render?
Looking at a CSS code snippet, can you determine if any of the code changes will bleed out to another part of the application?
Front end testing needs a front end
As the name suggests, front end testing needs a functioning front end to test against
While we can perform some linting and validations against the code we’ve written, there’s only so much we can determine without seeing the final product
Ideally with a setup as close to production as possible (in particular for performance testing)
Why GitHub Actions?
So why GitHub actions you ask? This is a great question that I want to address in 2 parts
Manual tests are 🤷♀️
While definitely better than nothing, manual tests aren’t great because it’s hard to ensure that they’re being run
How many of your enjoy doing a repetitive task that could easily be automated?
None of you, that’s one of the things we love using AI for
Automation adds consistency
When tests are automated, as part of any kind of process, it means it’s going to happen
It adds a check to make sure that we’re actually running the tests
When the pipeline is setup properly as well, we can ensure that code that doesn’t pass tests doesn’t get merged in and protect the quality of our application
Why GitHub Actions?
But why did I choose GitHub actions to use for running tests and as my CI/CD tool?
The documentation and assistance available to me was good and meant it wasn’t hard to get started
It’s also compatible with a lot of existing things I was going to want to do
And has great extensibility so works for smaller personal projects and bigger enterprise projects
So while the code and conventions we’re using are specific to GitHub Actions, the concepts are practices are ones that you can take and reuse with your own tools and processes
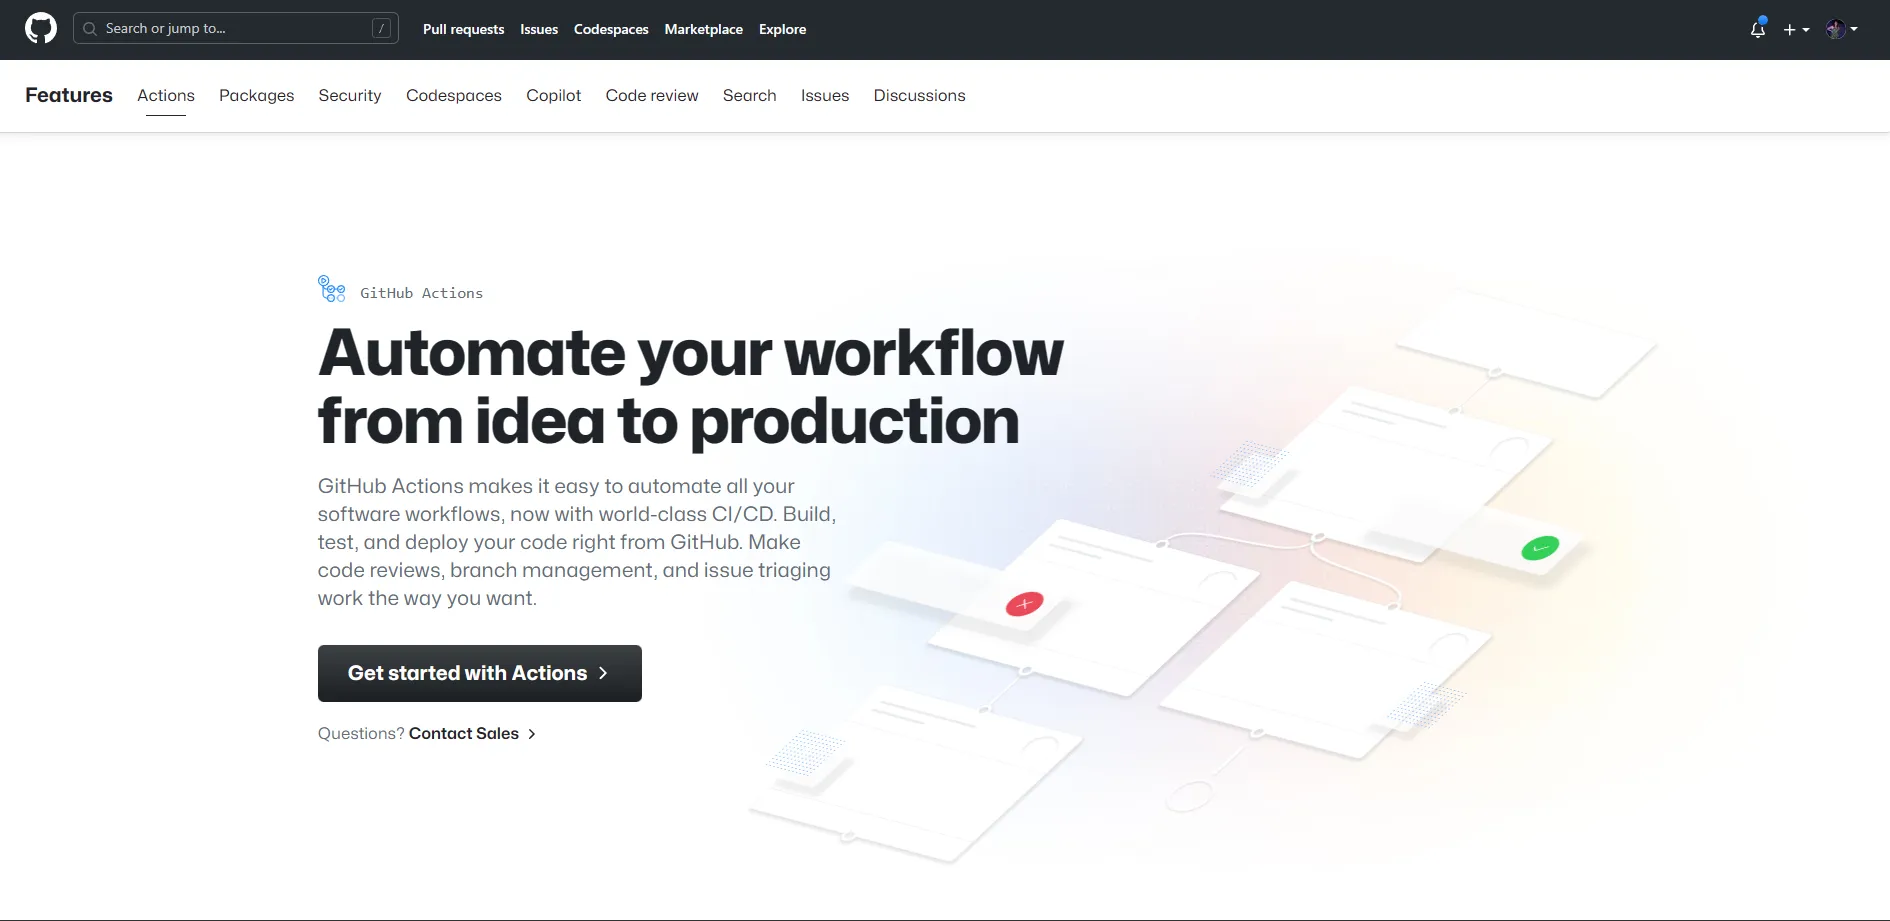
github.com/features/actions
For those that aren’t familiar with or haven’t heard of GitHub Actions, which I’m going to assume aren’t many of you as it’s in the title of this talk
It’s a very powerful tool that I could also do a whole talk on
So if you want to look into it a bit more, check out the GitHub docs or there are a few people from GitHub here this week so see if you can track on of them down
.github/workflows/test.yml
(yay yaml/yml 🙄)
GitHub Actions runs what are called workflows , which are written inside workflow files inside a particular folder of your project
As with a lot of devops tools, these files are written in yaml
Workflow → Jobs → Steps
Each workflow (or action) runs one or more jobs, by default these jobs will all run at the same time but we’ll look at that a bit later on
Each job is made up of a number of steps, which will run one after another
name: Build and Test

on:
  pull_request:
    types: [opened, reopened, synchronize]
    branches: [prod]
Name of the Workflow
How the workflow is triggered, in this case every time a pull request to the prod branch gets opened, reopened or the code in the PR gets updated
on:
	create: # Create a branch or tag
	delete: # Delete a branch or tag
	deployment: # Create a deployment
	discussion: # Create/Update/Delete/etc a discussion
	fork: # Fork a repo
	issue_comment: # Create/Update/Delete a comment on an issue/PR
	project_card: # Create/Update/Delete/etc a project card
	push: # Push to a branch
	pull_request: # Create/Update/etc a PR
	push: # Push to a branch
	workflow_run: # Actions Workflow is Completed/Requested/In Progress
There are many options of events that can trigger a workflow, these are just a few of common ones
Most of these actions then also allows setting config to filter down to more specific events
on:
  pull_request:
    types: [assigned, unassigned, labelled, unlabelled, opened, edited,
	closed, reopened, synchronize, ready_for_review, locked, unlocked,
	review_requested, review_request_removed, auto_merge_enabled,
	auto_merge_disabled, ready_for_auto_merge]
    branches: [prod, development, feature/**]
	paths: ['**.js', '**.css']
For example, the pull request trigger allows us to define the different types of events will trigger the workflow, whether all events will trigger it, or just ones that involve the code being changed (eg. opened, edited, reopened, synchronize)
We can also filter the specific branches, for example maybe this should just be related to the code going into production, but not something we need to consider when merging other branches into one another
This can include wildcard branch names as well, maybe you have branch naming conventions and want to run it against any branches that introduce a new feature
And we can also filter down to specific files, so maybe we only want to run this workflow when a CSS or JS file is changed
on:
  pull_request:
    types: [opened, reopened, synchronize]
    branches: [prod]
But for this case we’re going to keep it simple
We want to trigger this on pull requests
In particular when a pull request is opened, reopened or synchronised (so this should only run when the code in a PR is changed)
And we only want to run this when code is being merged into the production branch, we don’t care about the code that exists on other branches just yet.
name: Build and Test

on:
  pull_request:
    types: [opened, reopened, synchronize]
    branches: [prod]

jobs:
  build:
    runs-on: ubuntu-22.04
    steps:
      - name: Checkout Repo Code
		uses: actions/checkout@v3

	  - name: Setup Node
        uses: actions/setup-node@v3
        with:
          node-version: 18
The jobs/tasks that the workflow completes, by default these will all run at the same time
Each job gets a different name, eg. build, but the name must be unique
Set the platform that the job will run on, you can choose a number of different options, but running on Linux is the cheapest option
Each job has a number of steps to complete (these will complete one after another), most of the time your first step will be to checkout the repo code, otherwise you won’t have anything to work with
- name: Setup Node
  uses: actions/setup-node@v3
  with:
    node-version: 16

- name: Run Custom Script
  id: custom_script
  run: ./.github/actions/my_script.sh
  env:
    MY_ENV_VAR: ${{ secrets.MY_ENV_VAR }}

- if: ${{ failure() }}
  uses: actions/github-script@v6
  with:
    script: github.rest.issues.createComment({
		issue_number: context.issue.number,
		body: 'Whoops, something went wrong'
	  })
Name of the step (this is for us to identify it when it runs)
A unique ID for the step, this is optional and can be used to refer to it elsewhere in the job
We can define what actually happens in 2 different ways. Most of the time we use an existing actions package, using the uses property to define the package and version we’re using. Alternatively we can run a script in the terminal, using the run property and defining the script/command to run
Rather than running a step on
Some actions will also require values/config to be passed in, so these are set under the with property
Eg. for the setup node package, it can take a value of which node version you want to use and GitHub Scripts allows you to define a script to run, in this case to add a comment to our PR/issue that has triggered the action
- name: Checkout Repo Code
  uses: actions/checkout@v3

- name: Setup Node
  uses: actions/setup-node@v3
  with:
    node-version: 18

- name: Install Node Modules
  run: npm install
But for now we’re going to have 3 steps to get started
Repo → Actions
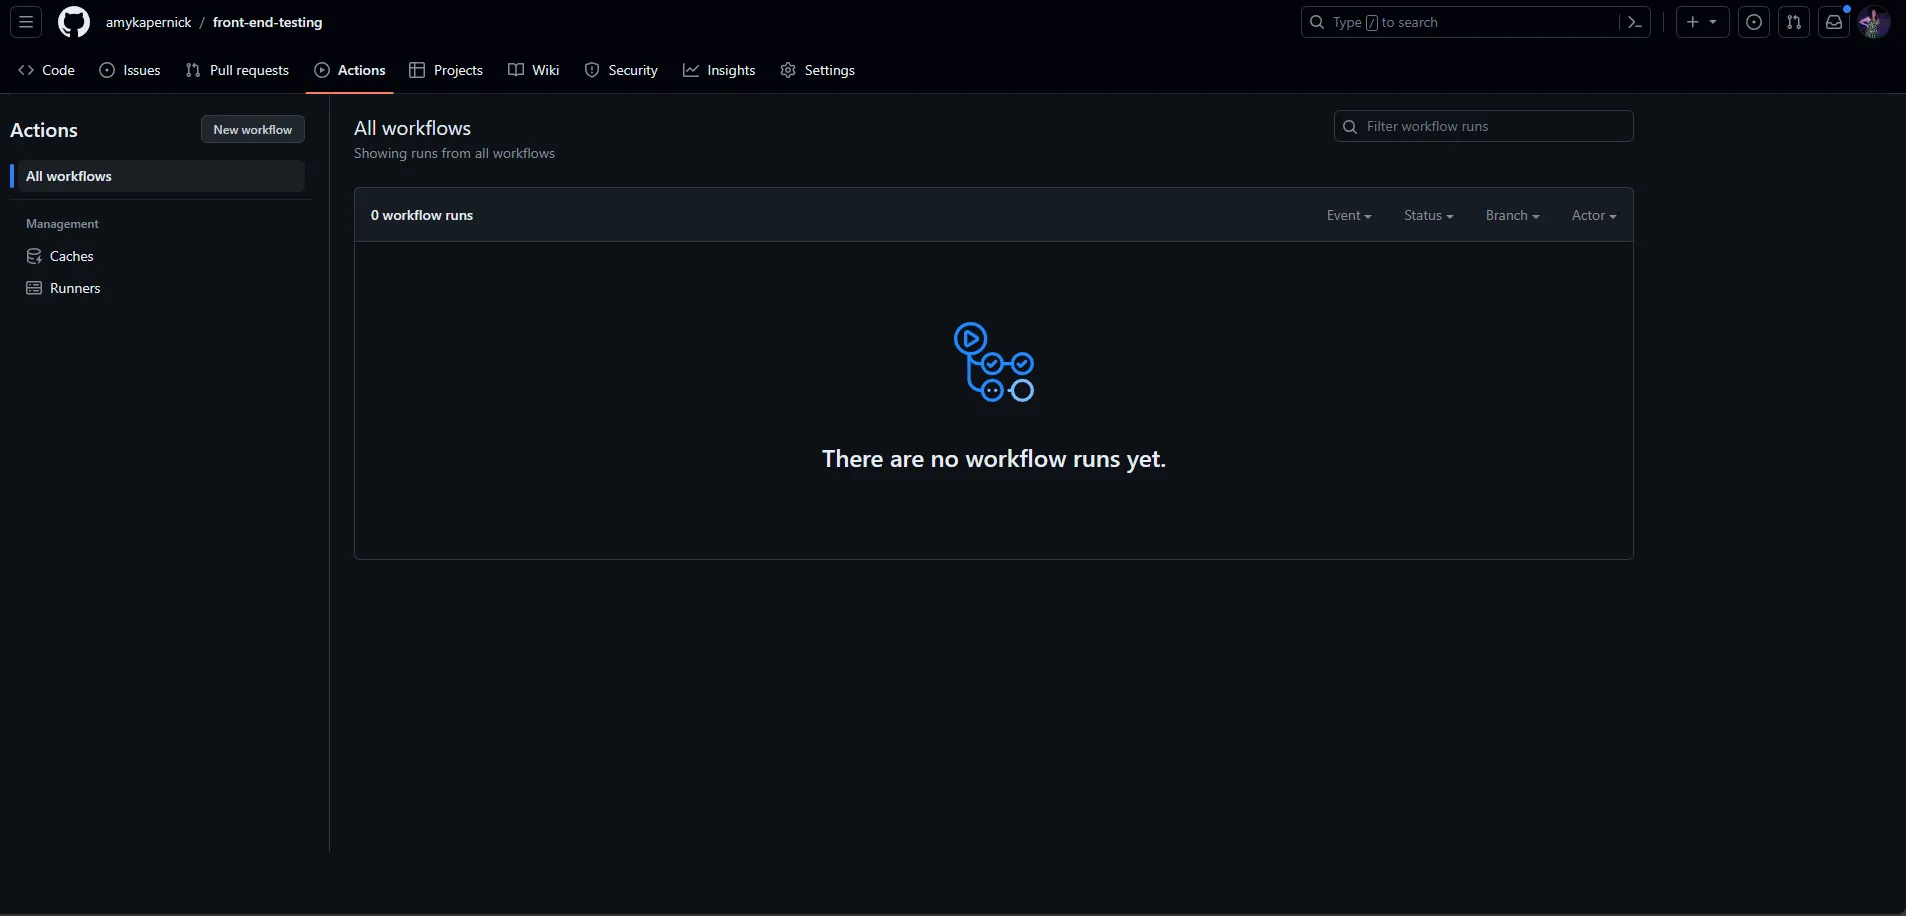
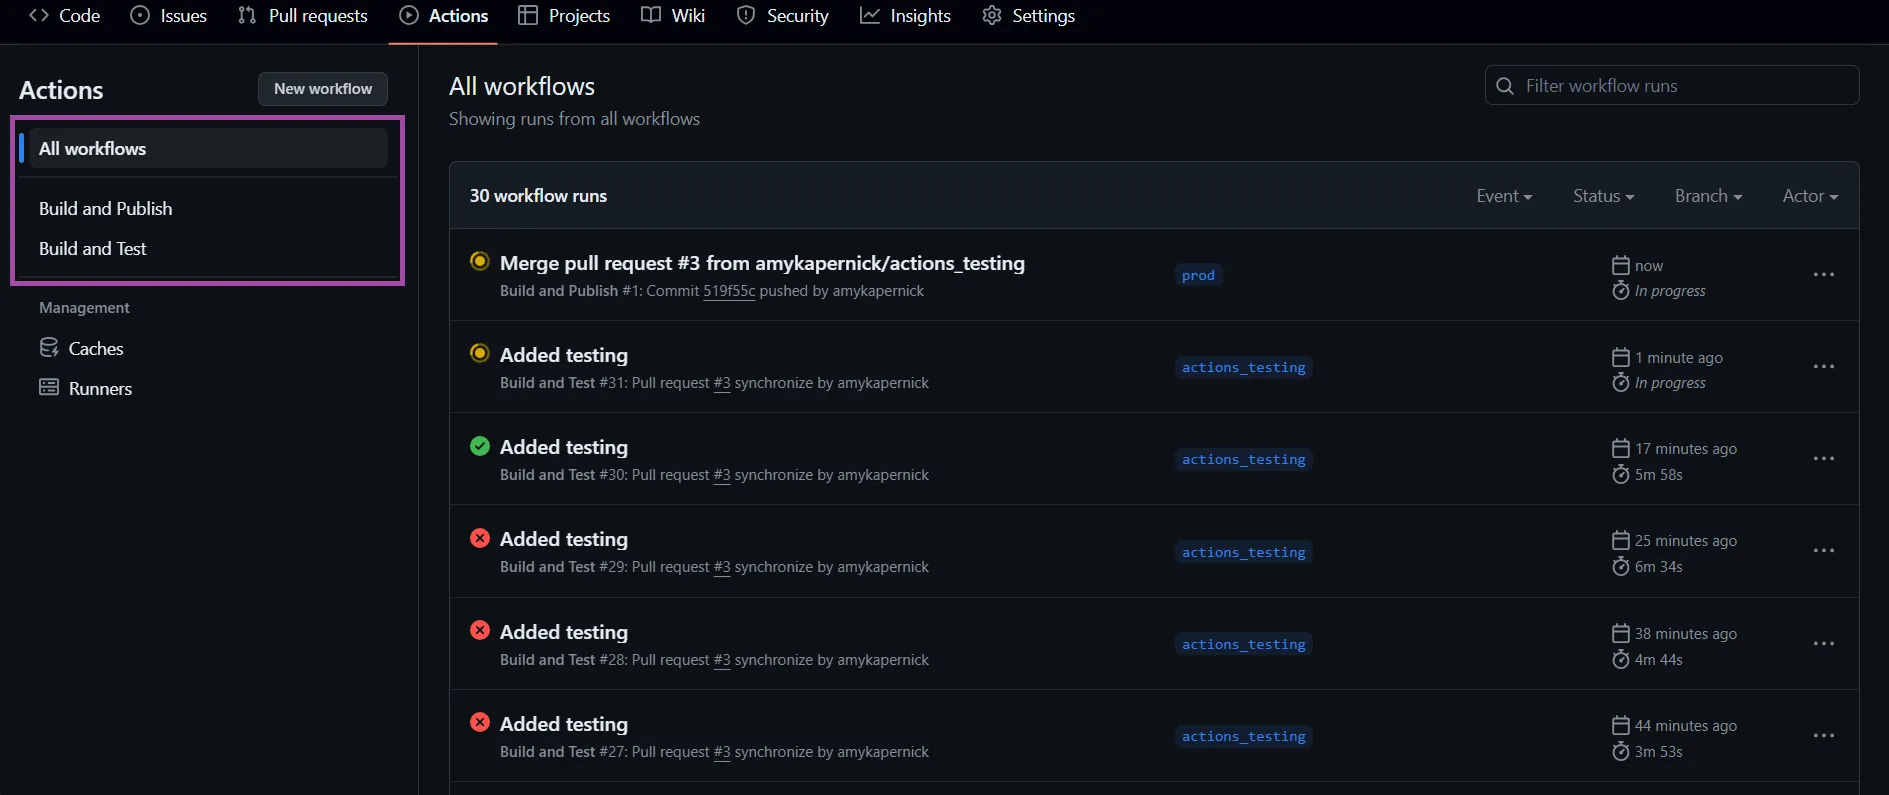
When we have workflow files we can find them in the GitHub dashboard under the Actions tab
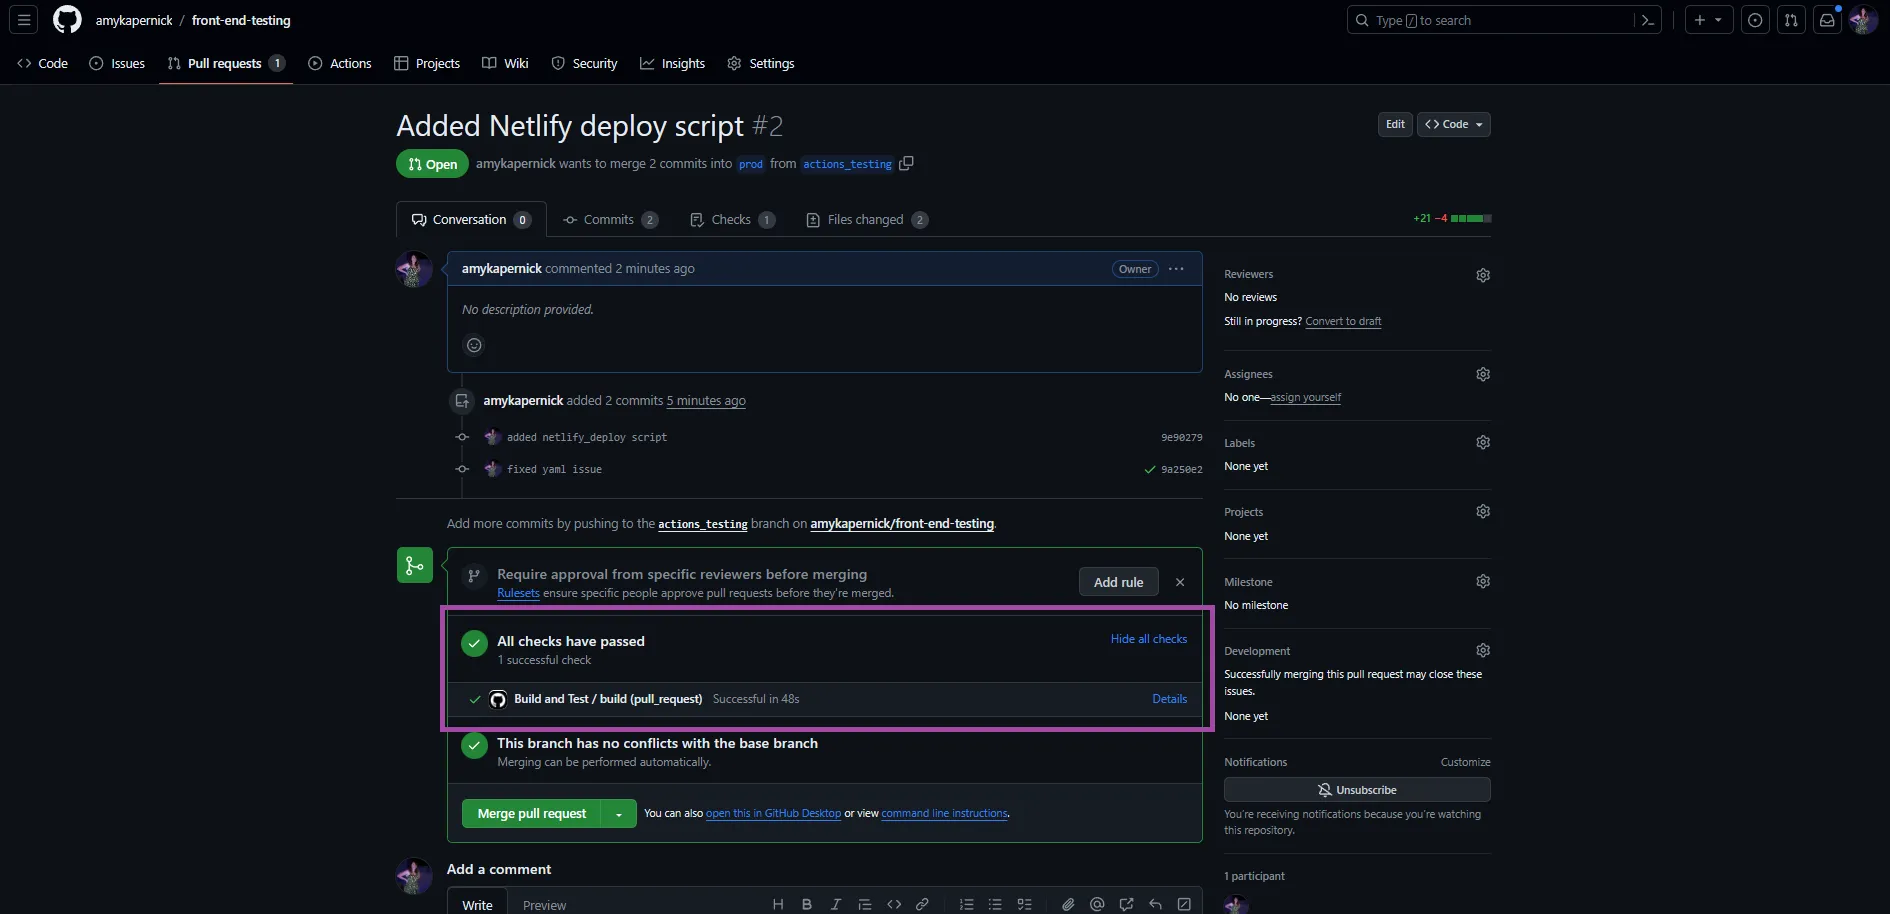
Now if we open a PR to merge code into our production branch, it will trigger the actions workflow to run
It doesn’t normally run this fast, but I’ve sped it up so we don’t have to sit here and watch the screen while it installs node modules, but you get the point
netlify.com
Now the next step is to build and deploy our site to a staging environment, probably the same place we’re running it in production
In this case, I’m hosting my website on Netlify and they have a deploy preview feature, so I can have a fully functioning live version of my website, with a URL I can access and not affect the production version until I’m ready
This step will be different depending on where you’re hosting it, but the concepts will be the same and there’s plenty of existing action packages you can use
In my case, although there were a few existing Netlify actions packages, I couldn’t find anything that did everything I wanted to do, so I did what all good developers do and made my own
.github/actions/netlify_deploy.sh
Thankfully Netlify has a CLI tool that I could use to make it way easier
So I created a bash script and added it to my project, to keep everything in one place I added it to the existing .github folder, and added an actions folder in case I want to add any other custom actions scripts in future
#!/bin/bash

COMMAND="netlify deploy --build --site ${SITE_ID} --auth ${TOKEN} --json"

OUTPUT=$($COMMAND)

NETLIFY_URL=$(jq -r '.deploy_url' <<<"${OUTPUT}")

echo "NETLIFY_URL=${NETLIFY_URL}" >> $GITHUB_OUTPUT
Here we’ll set the command to run, this is using the Netlify CLI using the deploy command. We’ll pass in the environment variables for the site and auth token, and have set the output to come through as JSON
Next we’ll run the command, and save the output in another variable so we can access it
To parse the output from Netlify, the jq package allows us to fetch the different properties and save them as individual variables.
Lastly we’ll save the Netlify preview URL as an output parameter for the workflow step, so we can access it in future steps, eg. to add it as a comment on our PR
- name: Deploy to Netlify
  id: build_site
  env:
    TOKEN: ${{ secrets.TOKEN }}
	SITE_ID: ${{ secrets.SITE_ID }}
  run: ./.github/actions/netlify_deploy.sh
If we add an ID to our step, it can be referred to elsewhere in our workflow, this ID must be unique
For this step we also need to use some environment variables, which we’re pulling in from GitHub Secrets
This step will run a command in the terminal, which runs a custom script we’ll create to build and deploy the site
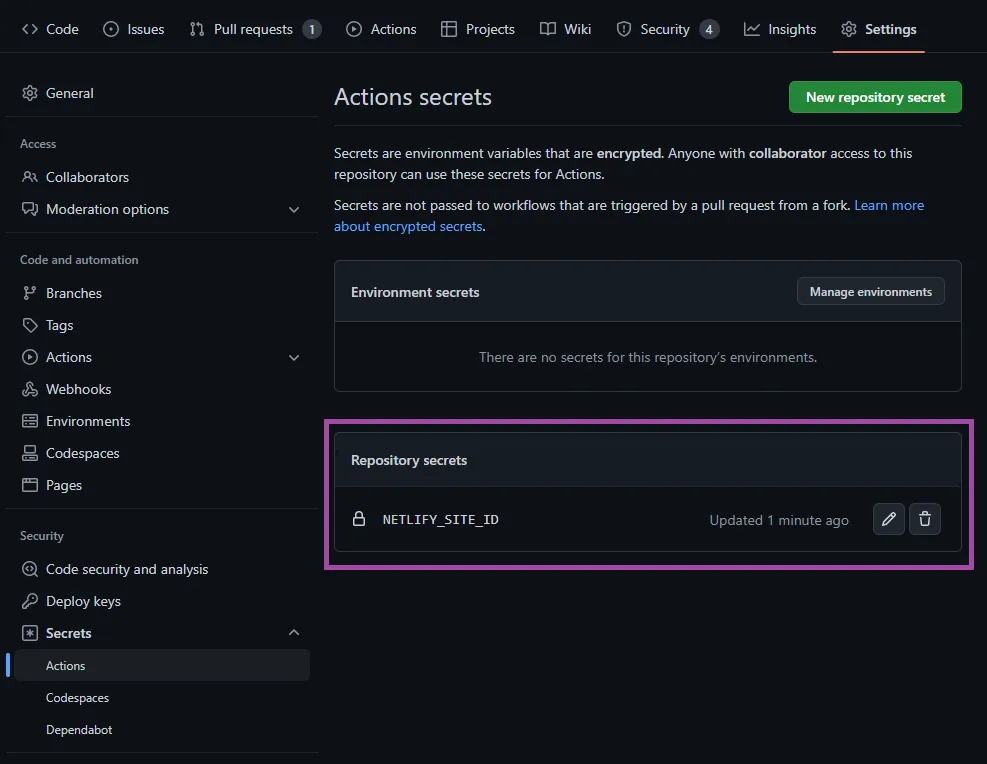
Settings → Secrets and variables → Actions
Lastly (and the bit I often forget) is to add the secret variables we’re using to GitHub so that we can authenticate with Netlify
Once that’s done, we can submit a PR to production and watch the action run
And while this works, and I can then check in Netlify to find out the URL of the preview site, we want to make this a bit easier
- name: Deploy to Netlify
  id: build_site
  env:
    TOKEN: ${{ secrets.TOKEN }}
	SITE_ID: ${{ secrets.SITE_ID }}
  run: ./.github/actions/netlify_deploy.sh

- uses: actions/github-script@v6
  with:
	script: |
	  github.rest.issues.createComment({
		issue_number: context.issue.number,
		owner: context.repo.owner,
		repo: context.repo.repo,
		body: 'URL: ${{steps.build_site.outputs.NETLIFY_URL}}'
	  })
Once the site is build, we’re going to use the GitHub Script package to add a comment to our PR, so that we know everything has built and so we can easily find the preview URL if we want to check something
Most of the information for this script, like the repo we’re on, who owns it and the issue number (which in this case is our PR number) is available in the context for the GitHub Action
But we also want to add the URL of the preview site to the comment, so using the ID of the previous build step, we can refer to it and fetch an output from the step, in this case we set an output for the NETLIFY_URL
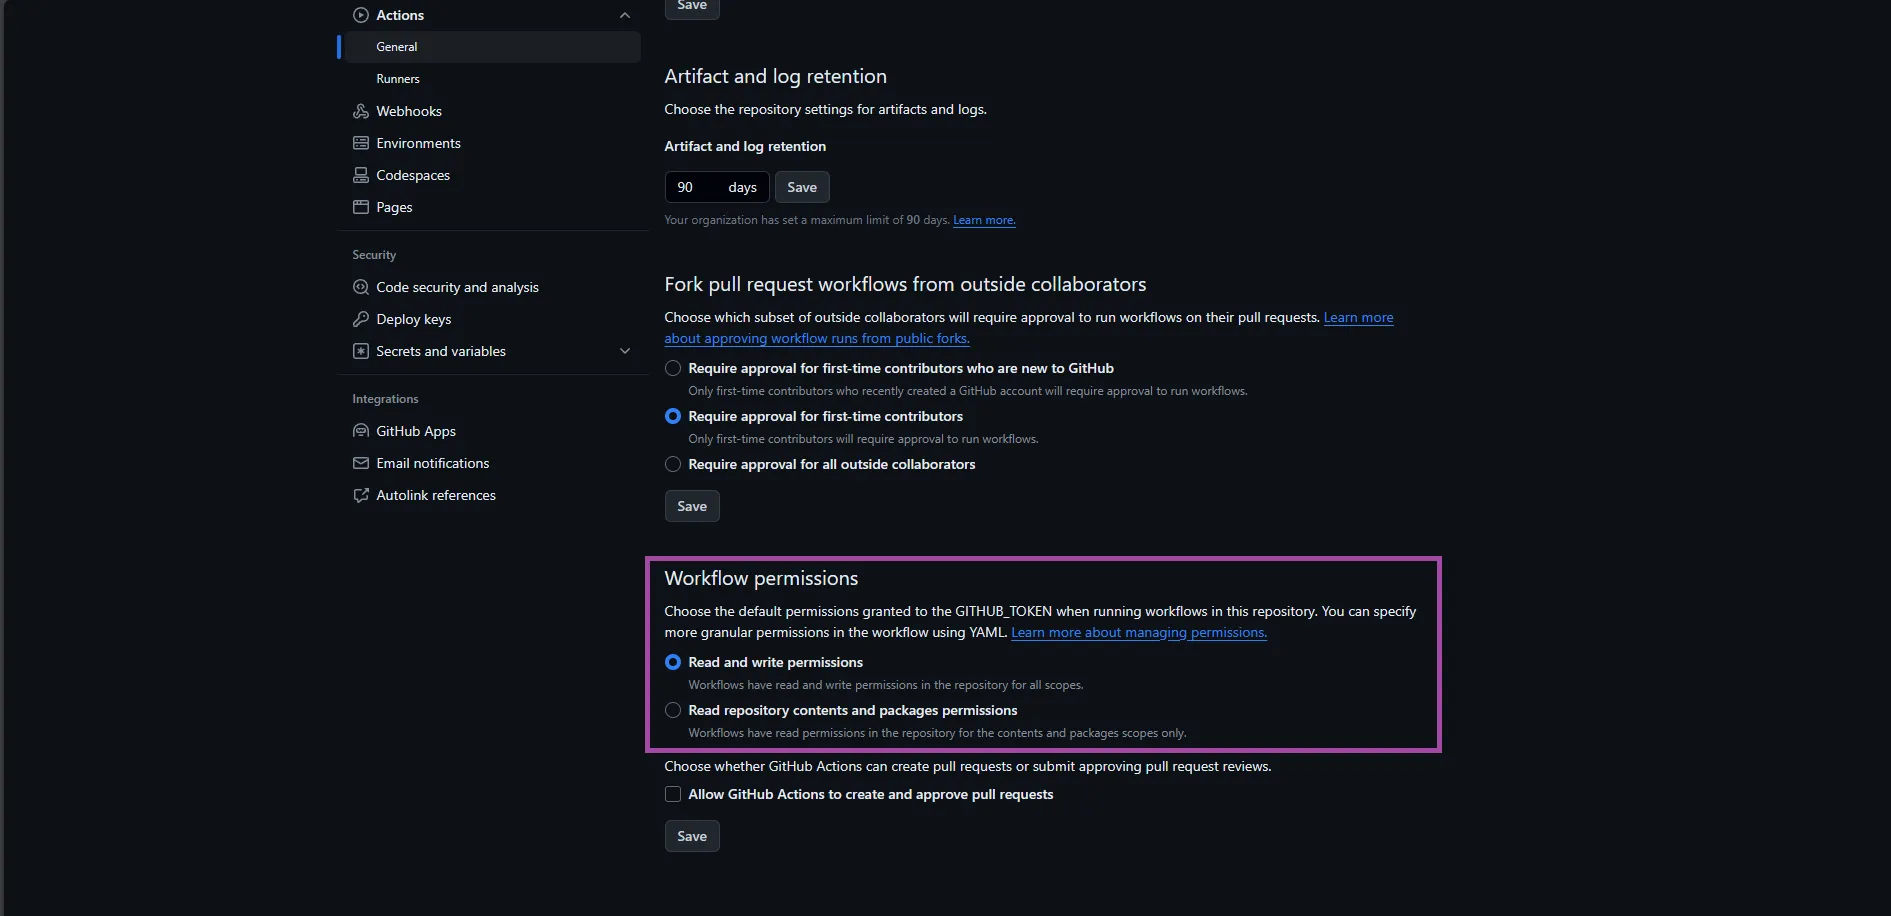
Settings → Actions → Workflow Permissions
Again not forgetting to make sure permissions are setup, we need to give the GitHub action permission to make changes to our reportError, in this case to add a comment to a PR
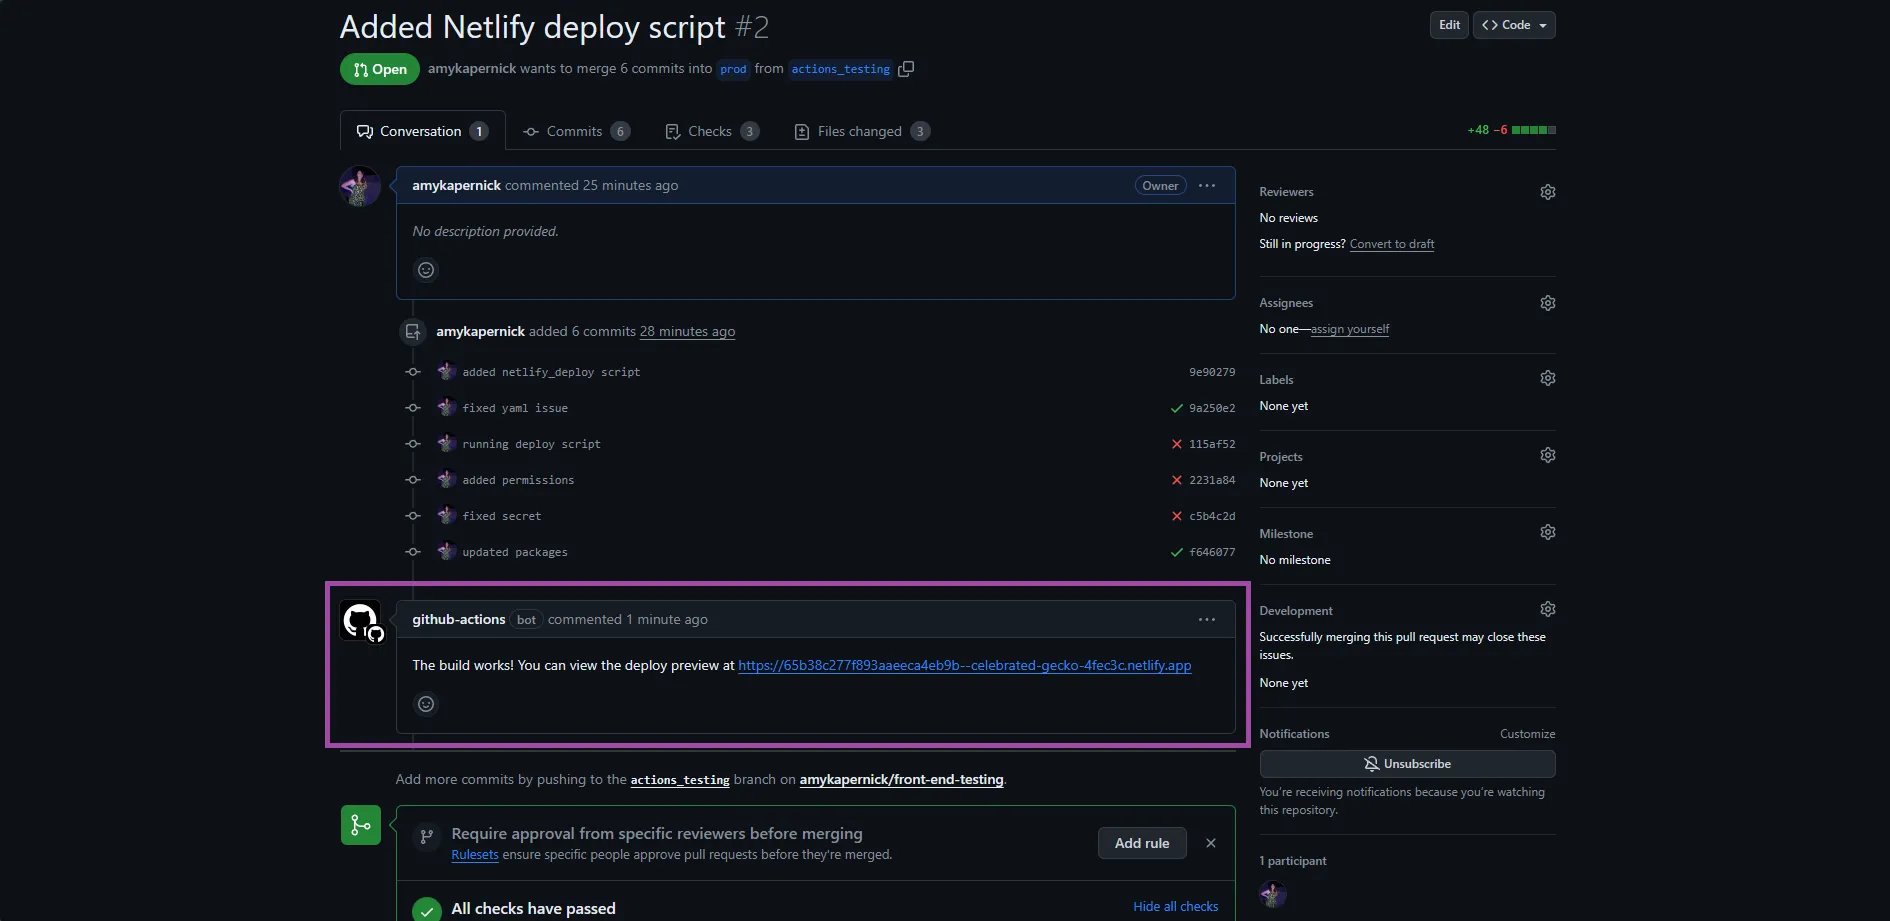
Once this is setup, we can run the workflow again and this time we get a comment added to the PR to let us know the build worked and the URL of the preview website!
kapers.dev/deploy-preview
- name: Deploy to Netlify
  id: build_site
  env:
    TOKEN: ${{ secrets.TOKEN }}
	SITE_ID: ${{ secrets.SITE_ID }}
  run: ./_actions/netlify_deploy.sh

- name: Build And Deploy
  id: azure_builddeploy
  uses: Azure/static-web-apps-deploy@v1
  with:
    azure_static_web_apps_api_token: ${{ secrets.AZURE_TOKEN }}
    repo_token: ${{ secrets.GITHUB_TOKEN }} #
    action: "upload"
    app_location: "/"
    api_location: ""
    output_location: "dist"
We talked about how this build step is specific to Netlify, because that’s where the site is hosted, but you can deploy wherever you like
For example we can add an extra step, to build and deploy on Azure, in this case as an Azure Static Web App
Used for Github integrations (i.e. PR comments)
Repository/Build Configurations - These values can be configured to match your app requirements.
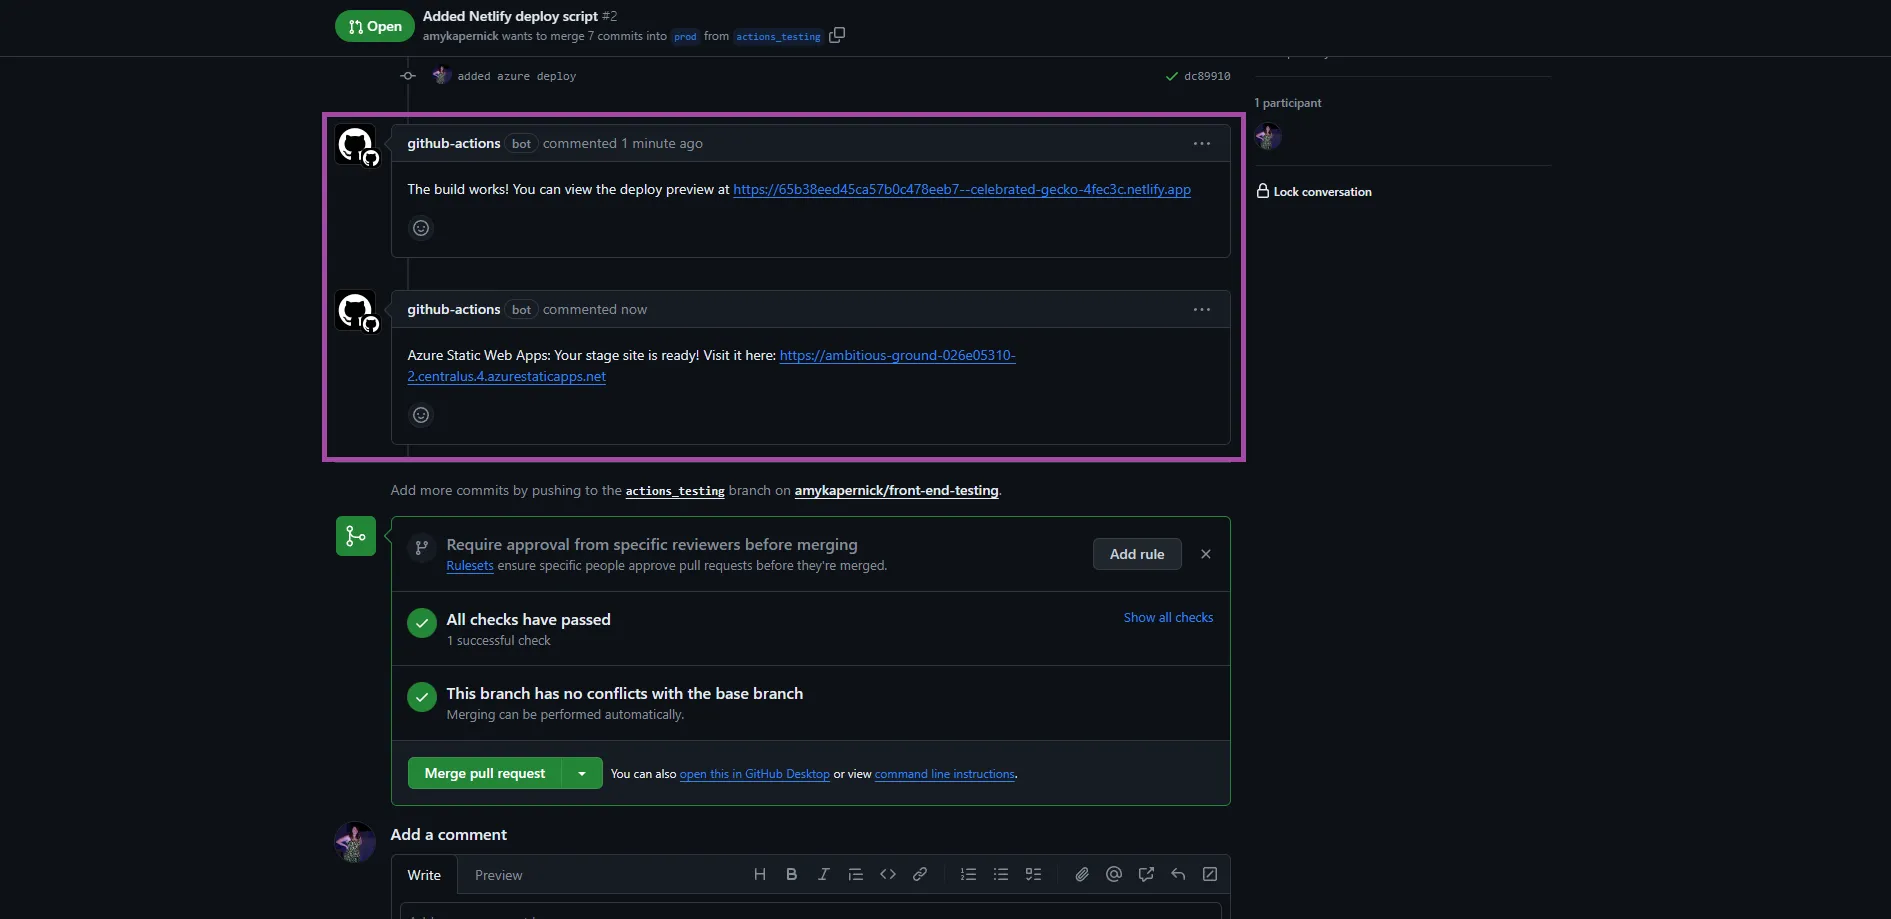
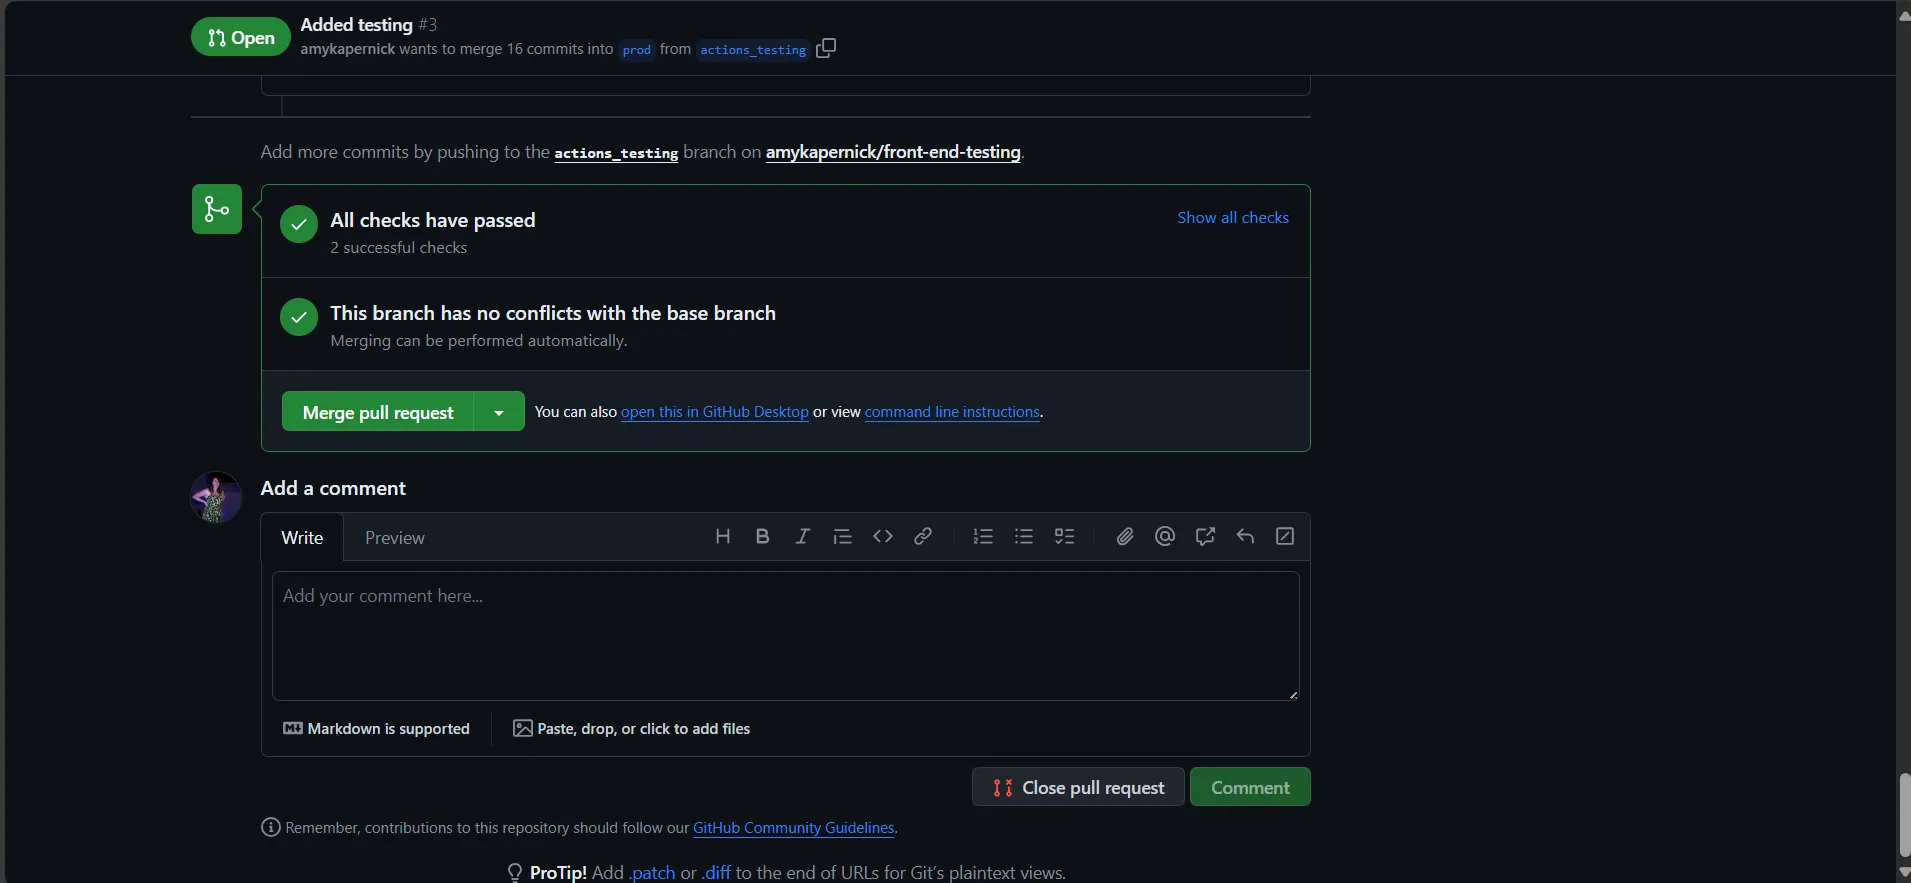
Now when we run the workflow, it’ll build and deploy twice, and we can see the preview URLs in the comments on the PR
jobs:
  build:
	runs-on: ubuntu-22.04
	outputs:
	  deploy_url: ${{steps.build_site.outputs.NETLIFY_URL}}
	steps:
	  # Previous build steps here

  test:
	runs-on: ubuntu-22.04
	needs: build
	steps:
	  - name: Checkout Repo Code
		uses: actions/checkout@v3
Now we’ve got the website building, and have a live version we can access, next we need to setup the tests
In this case, I want to set my tests up as a separate job in my workflow
Like the build job, we define what environment we want it to run on, in this case Linux
Because the testing job is different, we need to out the Netlify URL so we can access it in another job
Because the website has to have built first, we’re defining a dependency on the needs property, that the test job needs to have the build job complete first. By default, jobs in a workflow will process at the same time, but we need the live website first, so by setting it as a dependancy the test job won’t run until the build job has successfully completed (so if the build fails, the test won’t run)
Jobs run in their own separate environments, so we need to checkout the repo code again so we can run tests that are defined in the repo
- name: Audit URLs using Lighthouse
  uses: treosh/lighthouse-ci-action@v10
  with:
    urls: |
      ${{ needs.build.outputs.deploy_url }}
    uploadArtifacts: true
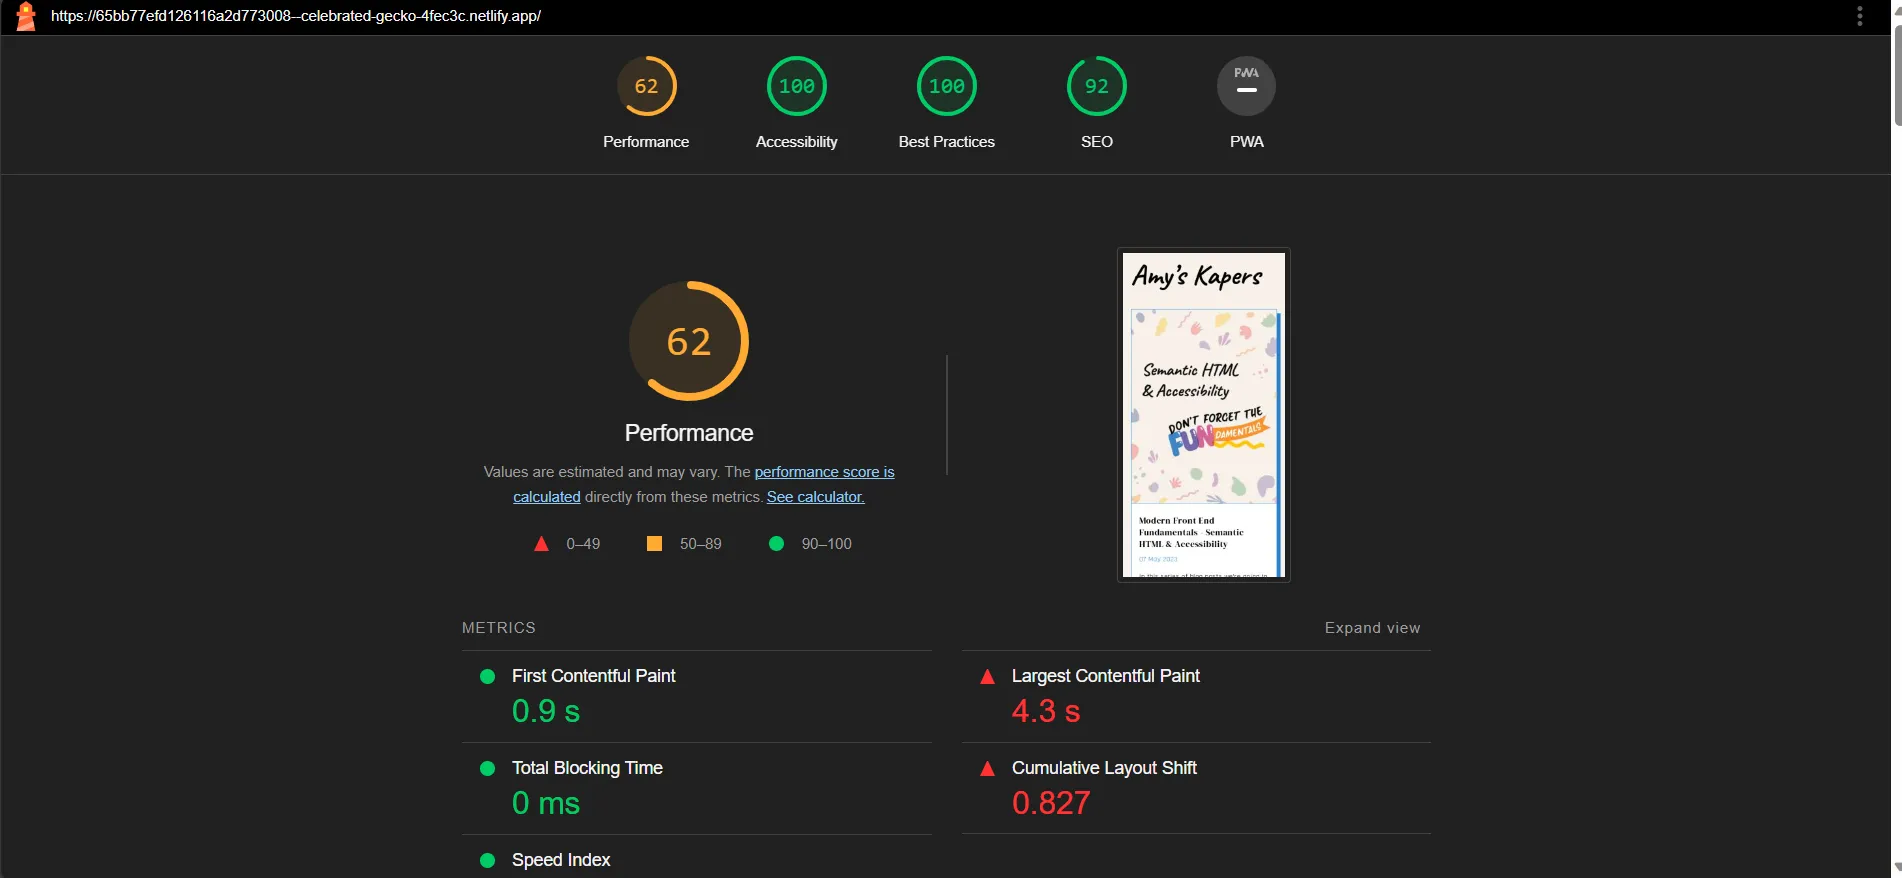
First up I’m going to run some lighthouse tests, and from this I’ll get a report back
But before we can do that, there’s a slight problem we have to fix first
We have set the build job to pass through the deploy URL, but GitHub Actions does some checking to make sure we’re not inadvertantly doing things with secret stuff and accidentally exposing them
Which while this is a useful feature, it’s incredibly sensitive about what it thinks might be a secret, and doesn’t announce when it’s keeping something hidden for our own good
Evaluate and set job outputs
Warning: Skip output 'deploy_url' since it may contain secret.
Cleaning up orphan processes
I have spent far too many hours trying to work out why my action wasn’t working, or why a variable didn’t exist, only to find this tiny little note in the logs
And given the number of issues, discussions and stack overflow posts, I’m not the only one
# .github/actions/netlify_deploy.sh

echo "NETLIFY_URL=${NETLIFY_URL}" >> $GITHUB_OUTPUT
echo "ENCODED_URL=$(echo $NETLIFY_URL | base64 -w0 | base64 -w0)"
  >> $GITHUB_OUTPUT
To get around this, we can encode the URL before we pass it through, we now have an encoded and plain version that we can access
The plain version is still fine to use for the build job, but for the test job we’ll need to decode the encoded verson
- name: Checkout Repo Code
  uses: actions/checkout@v3

- name: Decode URL
  id: decode_url
  run: |
    echo "DEPLOY_URL=$(echo "${{ needs.build.outputs.deploy_url }}"
	| base64 --decode | base64 --decode)" >> $GITHUB_OUTPUT

- run: echo ${{ steps.decode_url.outputs.DEPLOY_URL }}
Now once we get to the test job, we can add a step to decode the URL and use it elsewhere in the job
Just to make sure, we can temporarily add a step to check the output is fine
- name: Decode URL
  id: decode_url
  run: |
    echo "DEPLOY_URL=$(echo "${{ needs.build.outputs.deploy_url }}"
	| base64 --decode | base64 --decode)" >> $GITHUB_OUTPUT

- name: Audit URLs using Lighthouse
  uses: treosh/lighthouse-ci-action@v10
  with:
    urls: |
      ${{ steps.decode_url.outputs.DEPLOY_URL }}
    uploadArtifacts: true
Now we can go back to the lighthouse action and pass the newly decoded URL from the decode step
A lot of testing tools, particularly for front end tests, will generate reports to view the results a bit better
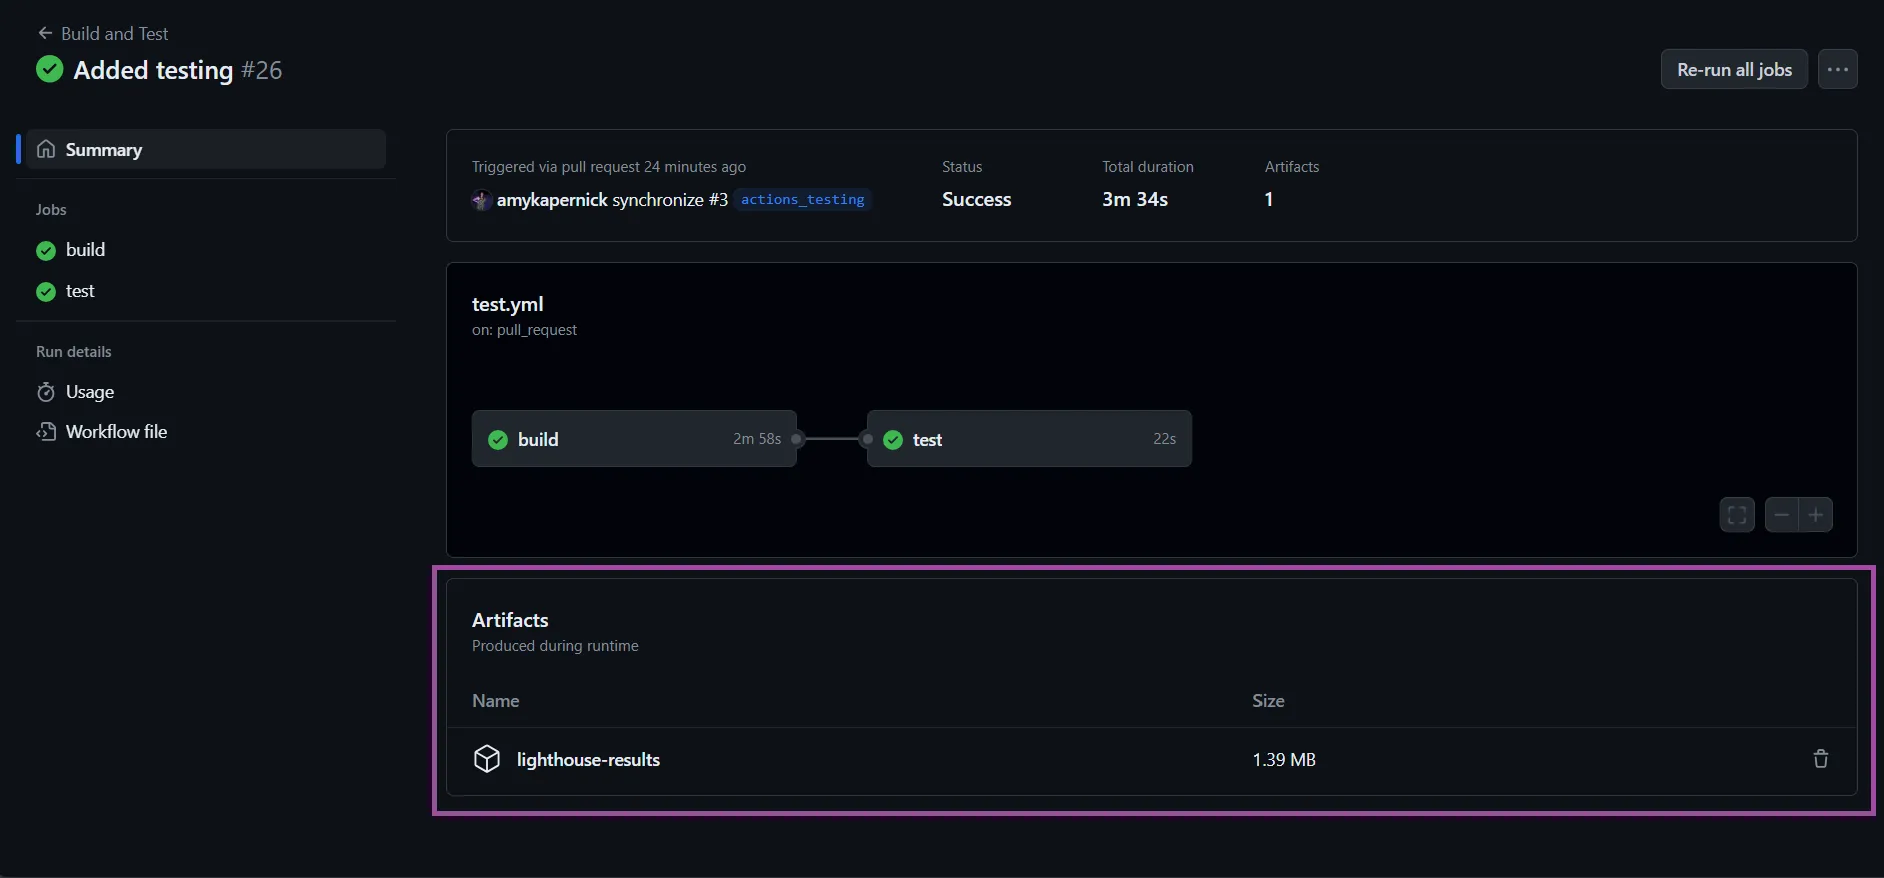
We can take these generated reports and upload them as part of the test, so they can be accessed later
In the case of this lighthouse test, it does that for us
- name: Audit URLs using Lighthouse
  uses: treosh/lighthouse-ci-action@v10
  with:
    urls: |
      ${{ steps.decode_url.outputs.DEPLOY_URL }}
    uploadArtifacts: true
The option we set here will upload the report for us to download and view later
And will look something like this
- run: npm install && npx playwright install --with-deps

- name: Run Playwright tests
  env:
	BASE_URL: ${{ steps.decode_url.outputs.DEPLOY_URL }}
  run: npx playwright test

- uses: actions/upload-artifact@v3
  if: always()
  with:
	name: playwright-report
	path: playwright-report/
	retention-days: 30
Next we’re going to run some playwright tests, to do some UI testing
First we need to install the packages for it and playwright
Then we can go through and run the tests, and in this case we’re also passing through the deploy URL so it knows what website to test
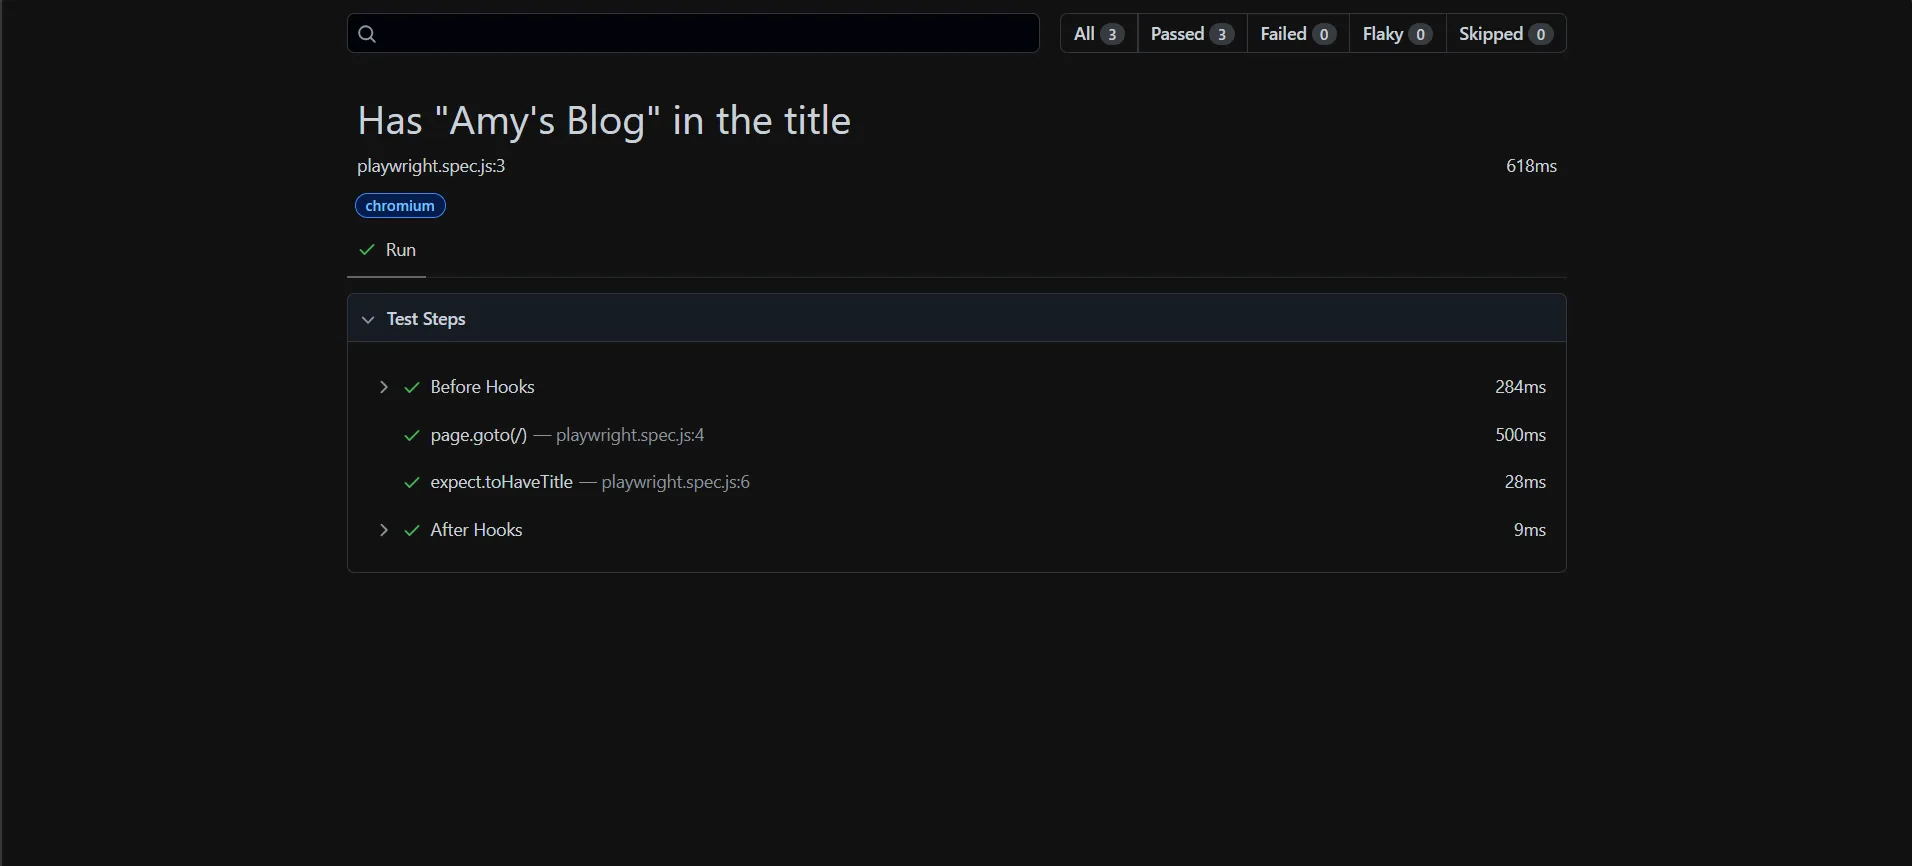
Finally, we can take advantage of the artifacts to upload the repor that playwright will generate for us
In this case we’ll upload the report in the playwright-report folder and we’ll ask GitHub to keep that for 30 days (you don’t need to keep it forever, so it’s good to let it clean itself up)
name: Build and Publish

on:
  push:
	branches: [prod]

jobs:
  build:
	runs-on: ubuntu-22.04
	steps:
      # Build steps here
  - uses: actions/checkout@v3
  - name: Setup Node
    uses: actions/setup-node@v3
    with:
      node-version: 20
  - run: npm install

  - name: Deploy to Netlify
    id: build_site
    env:
      TOKEN: ${{ secrets.TOKEN }}
      SITE_ID: ${{ secrets.SITE_ID }}
    run: ./.github/actions/netlify_deploy.sh --p true
COMMAND="netlify deploy --build --site ${SITE_ID} --auth ${TOKEN} --json"

OUTPUT=$($COMMAND)
COMMAND="netlify deploy --build --site ${SITE_ID} --auth ${TOKEN} --json"

while getopts p: flag
do
	case "${flag}" in
		p) prod=${OPTARG};;
	esac
done

if [ "$prod" = "true" ]; then
	COMMAND="$COMMAND --prod"
fi

OUTPUT=$($COMMAND)
Build and Preview (anywhere) ✅
There are literally thousands of prebuilt actions packages ready for us to use (as well as being able to run our own scripts)
This means we can setup other automations to run as part of our workflow
	// TODO: Will fix this later
	const myFunction = () => {
		...
	}
Who here leaves comments in their code for things to do later
And possibly forget that this needed doing
- name: Add Issues from Comments
  uses: "alstr/todo-to-issue-action@v4"
  with:
    AUTO_ASSIGN: true
    CLOSE_ISSUES: true

- name: Deploy to Netlify
  # Rest of build job
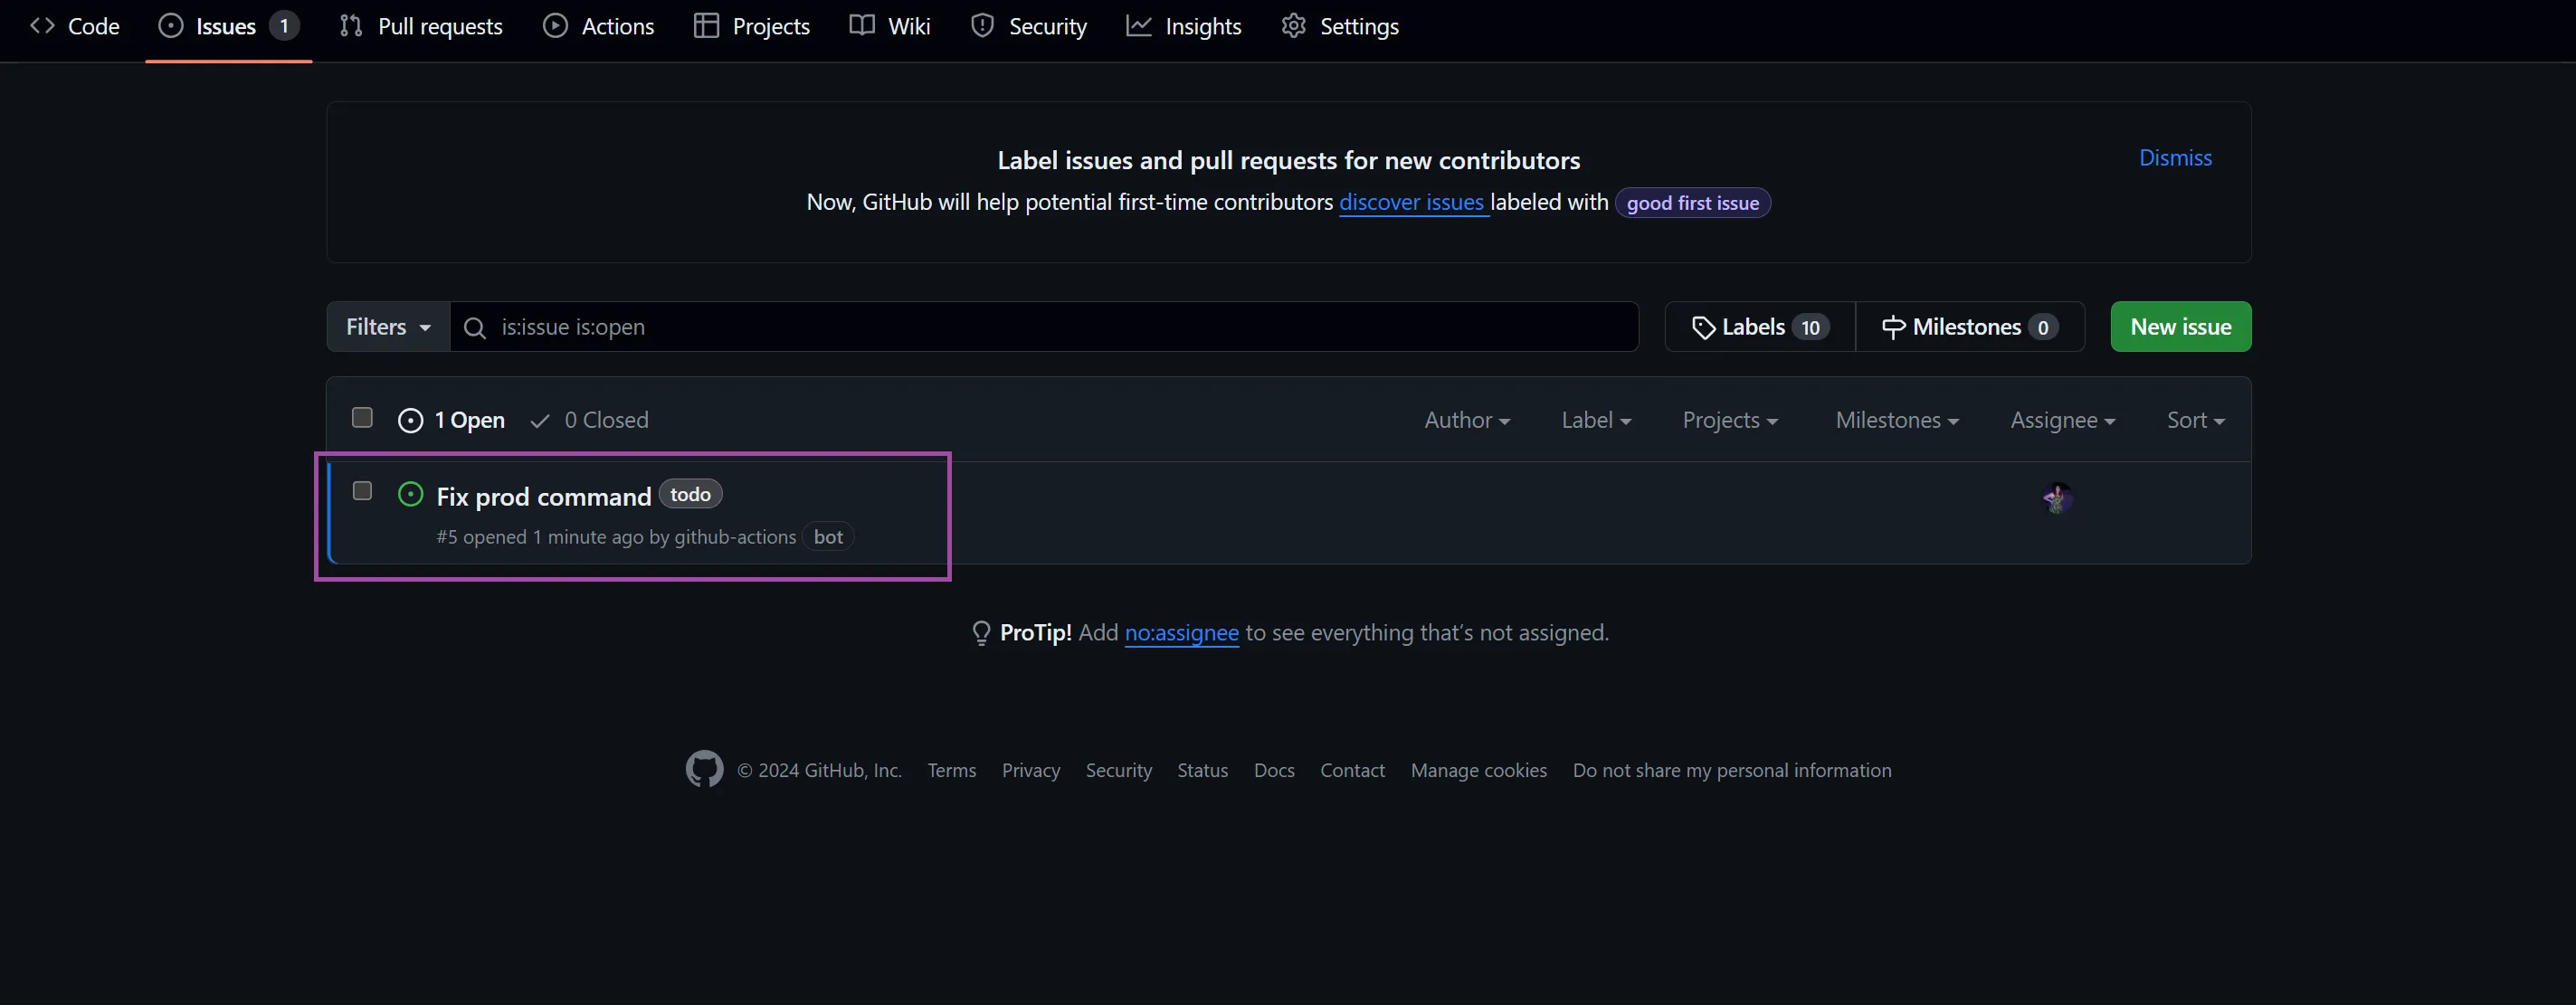
	# TODO: Fix prod command
	if [ "$prod" = "true" ]; then
		COMMAND="$COMMAND --prod"
	fi
- name: Add Issues from Comments
  uses: "alstr/todo-to-issue-action@v4"
  with:
    AUTO_ASSIGN: true
    CLOSE_ISSUES: true
Create tasks/issues for comments/bugs
Manual approval step to require approval from a certain person, or wait a specified amount of time before continuing
I have an action which searches for twitter embeds, generates a static image of the embed and replaces it with a linked image to improve performance and make it bulletproof
You might want to dynamically generate a social media preview image for each page or for each blog post
Actions don’t just have to be about the code either, you can automate setting properties on a PRSuccessfulAction, approving collaborators, close stale issues or any number of other things
I’m currently working on an action that summarises changes to environment variablesand summarises which ones have changed, been added or removed and when, so if you’re working on a not often used project you can work out what you’re missing since you last touched it
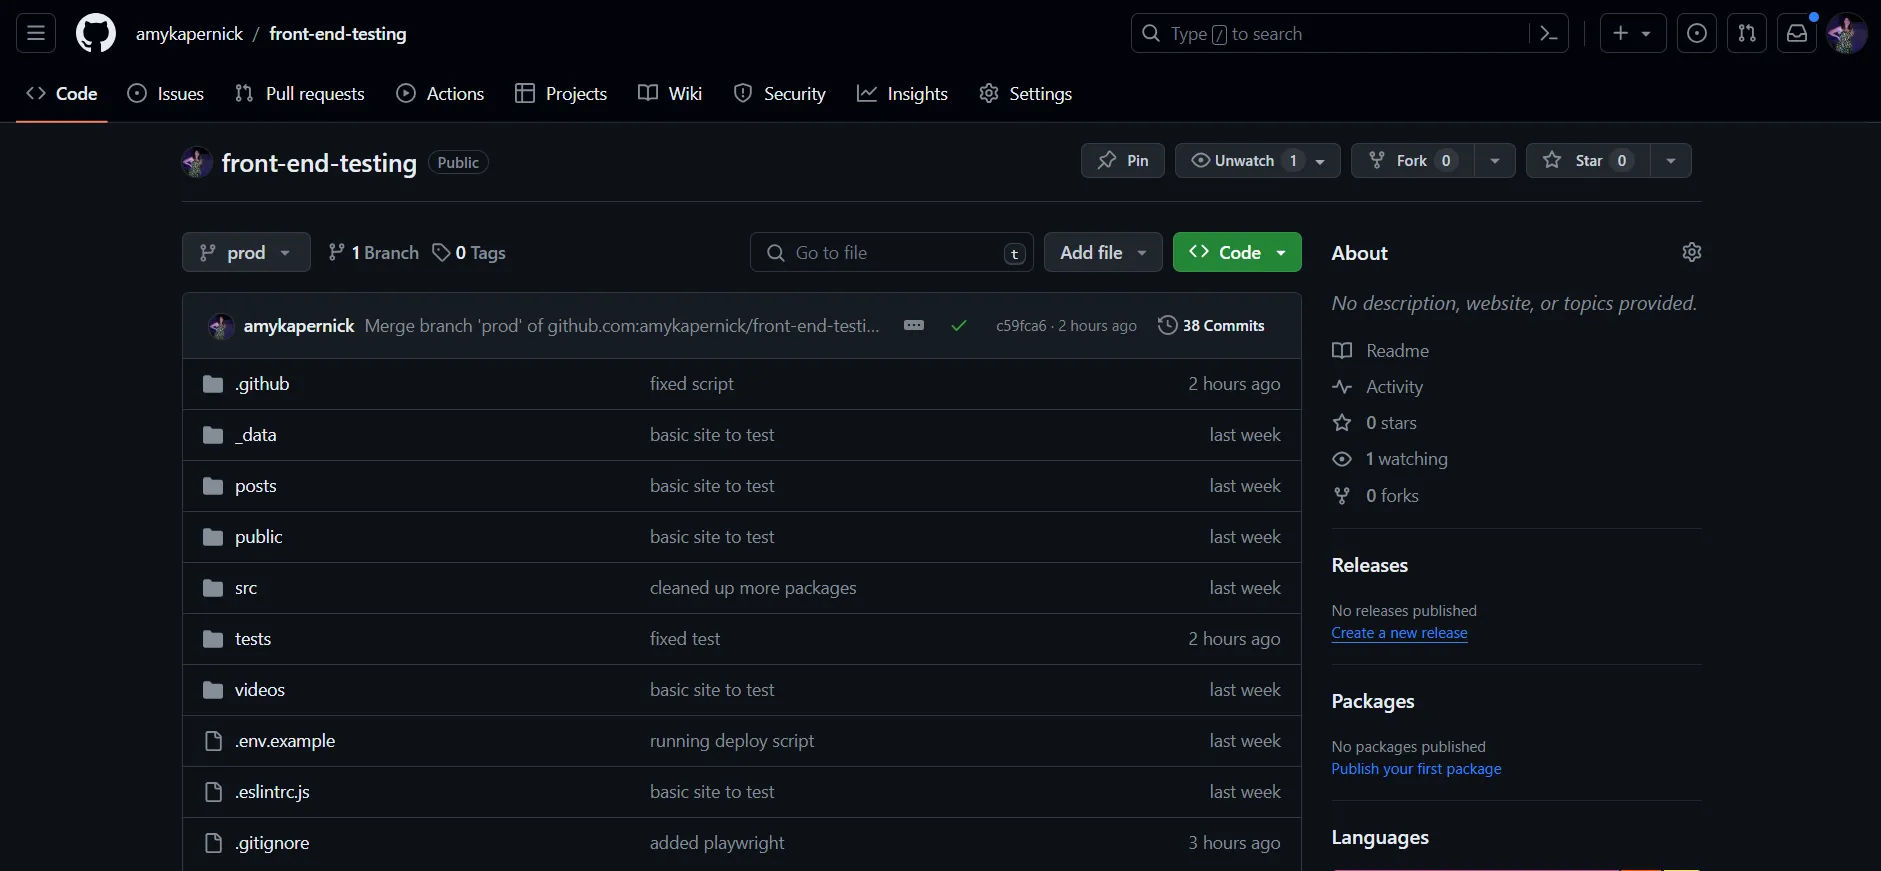
github.com/amykapernick/front-end-testing
blog.amyskapers.dev/front-end-testing-with-github-actions
kapers.dev/fender-testing
